When you add ForNAV reports to your AL project, there are a couple of things you must set up. If you are starting a new project, the Designer can create a new project folder for you.
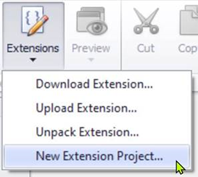
Click Extensions on the toolbar and select New Extension Project.
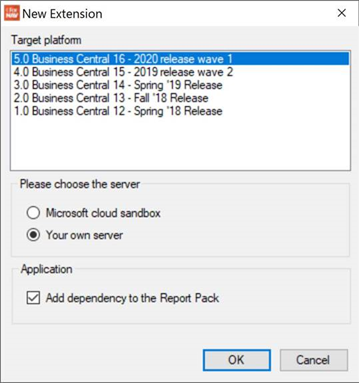
The Designer asks you which version of Business Central you are using and if it is running on-premise or in the cloud. If you are using the ForNAV report pack then you can choose to add a dependency in the new project.
When you accept the settings, the new project files are created in the folder you have chosen.
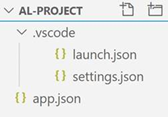
The following shows the project structure for an on-premise solution. It has created a launch.json, settings.json, and app.json.
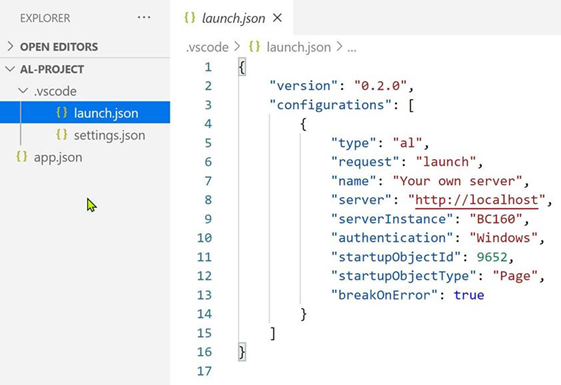
The launch.json does not have any specific ForNAV settings. It has a start page pointing to the standard page for setting report layouts.
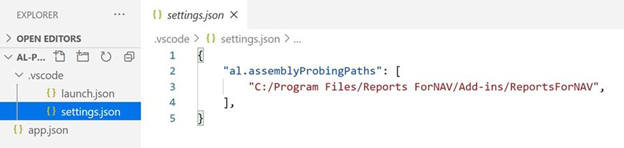
The settings.json specifies a probing path. This is where the compiler looks for the ForNAV add-in DLL. Every time you install a new version of the ForNAV Designer, it places a copy of the add-in DLL in this folder. This is why we choose to point to this folder instead of the add-in folder under the service tier. It is not a problem that the VS Code environment and the service tier finds the correct add-in version in different folders. This reference is only for the compilation of the app under VS Code.
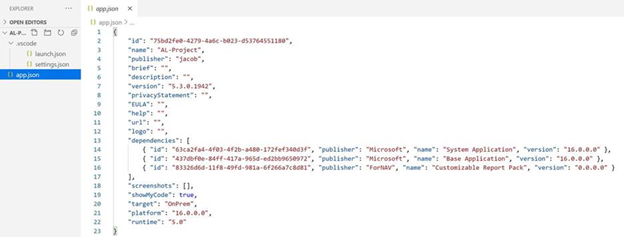
Because we chose to create a dependency to the ForNAV Report Pack, the app.json has this dependency. Other than that, the app.json looks normal.
If you already have an AL project folder with an existing extension and you want to add ForNAV reports to that, then you must make the above changes to your configuration files.
