There are different ways to work with barcodes in Business Central. This article compares adding a barcode to a Business Central report, using the ForNAV Designer and without.
With ForNAV, it is very easy to add a barcode to a Business Central report:
- Open the layout using the ForNAV Designer.
- Drag in a field and press shift when dropping.
- Select Barcode.
- In the Quick Property window, select the type of barcode in Symbology.
- Save the layout to the customer’s system.
Alternatively, in RDLC, adding a barcode to a Business Central report is more time-consuming and, if working OnPrem, it’s more costly too:
- Download a demo barcode font (see Barcode Fonts with Business Central Online – Business Central | Microsoft Docs).
- Create a new Visual Studio Code project.
- Create a report extension.
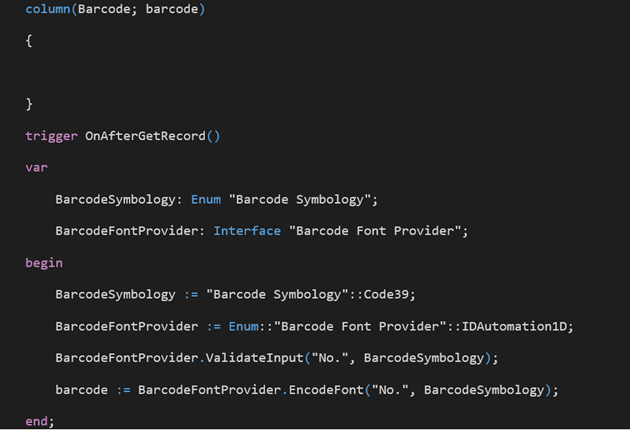
-
Add the barcode al-code:
- Create a custom layout in Business Central and download it.
- Delete the custom layout in Business Central.
- Open the layout in the report builder.
- Add a textbox.
- Set the source expression and font.
- Save the layout to the Visual Studio Code project.
- Compile and upload the report extension to Business Central.
-
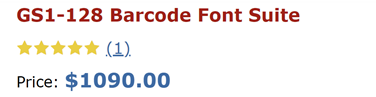
Buy and install the font if OnPrem:
- Upload the report extension to the customer system.
